

 Authenticate
 Manage Users
 Customize
 Auth0 AI
 Platform
This guide assumes you use Okta as your enterprise identity provider (IdP) and have administrative access to an Okta tenant for testing. If you don’t have one, read Create and configure your Okta tenant.
- Create the Requesting App in Auth0: Create a confidental client in Auth0 and enable XAA for it.
- Create the Okta Workforce Enterprise connection: Federate with Okta as the enterprise IdP so your users can sign in with their Okta credentials.
- Register the Requesting App in Okta: Register the confidental client in the Okta Integration Network (OIN).
- Test the Okta Workforce Connection: Authenticate a test user using the Okta Workforce Connection in the Auth0 Dashboard.
- Create the Resource App OIDC connection: Create and register a connection that points to the Resource App’s Auth0 tenant and enable Token Vault and XAA on it.
Prerequisites
Before getting started, configure your Okta tenant for Cross App Access:- On the Okta Developer website, sign up for an Okta Integrator Free Plan.
- To enable Cross App Access, email
developers@okta.comto request XAA enablement for your Okta tenant. Once approved, the Okta team can provide links to any available XAA Requesting and Resource Apps.
- The Resource App tenant’s issuer URL. For example,
https://<RESOURCE_APP_TENANT>.auth0.com/ - A Client ID and Client Secret for the Requesting App
Create the Requesting App in Auth0
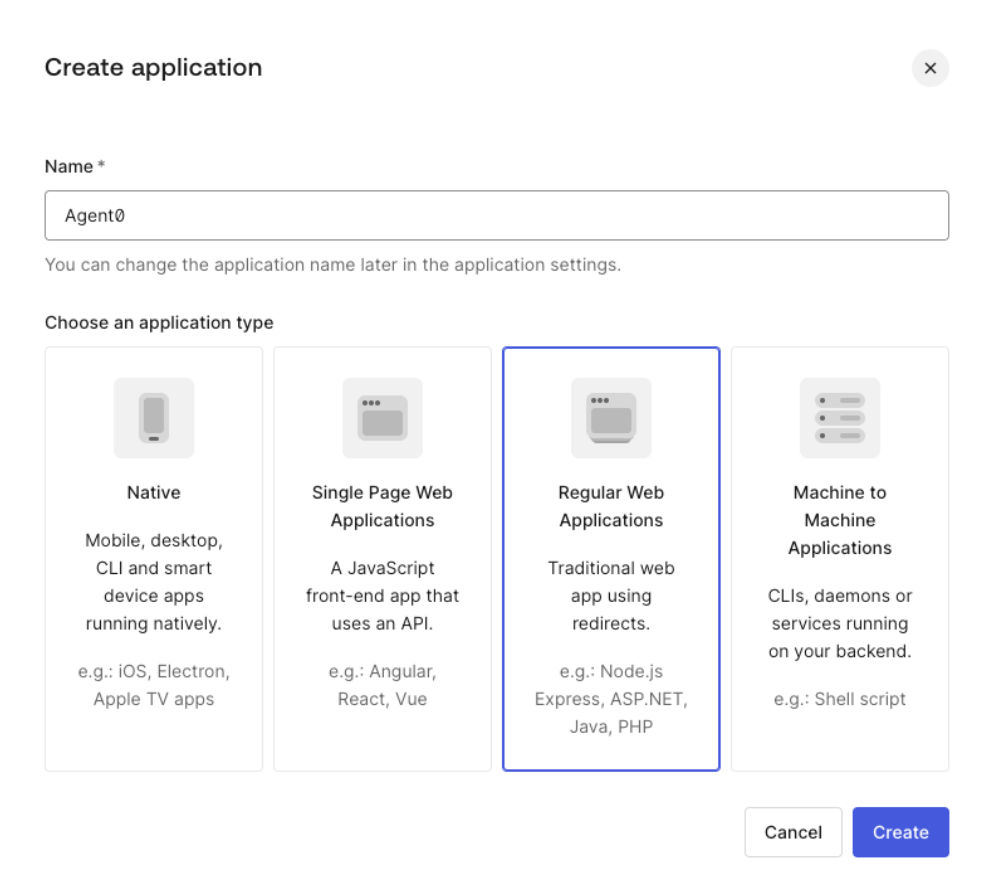
Create an application in your Requesting App Auth0 tenant representing the Requesting App. This must be a confidential client that can store a client secret, such as a Regular Web Application. In the Auth0 Dashboard:- Navigate to Applications > Applications and select Create Application.
- Enter a name (for example,
Agent0) and select Regular Web Application.
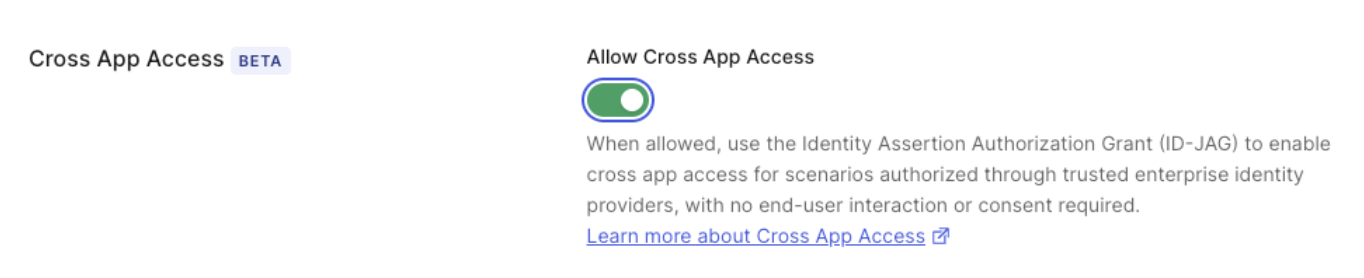
- Open the application’s Settings and enable the Cross App Access toggle.
- Navigate to Advanced Settings > Grant Types and make sure the Authorization Code, Refresh Token, and Token Vault grant types are enabled.
Create the Okta Workforce Enterprise connection
Create an Okta Workforce Enterprise connection in your Requesting App Auth0 tenant so your users can sign in using their Okta credentials. This connection also enables Auth0 to store Okta tokens in Token Vault during login. To create an Okta Workforce Enterprise connection, use the Okta application credentials for your Requesting App. Once the connection is created, configure it for XAA:- Navigate to Authentication > Enterprise > Okta Workforce and select the connection.
- Under Settings, add
offline_accessto the list of Scopes so the connection requests a refresh token from Okta. - Under Settings > User Mapping, select the Okta Basic template.
- In the
userinfo_scopeproperty, add theoffline_accessscope so Token Vault can store a refresh token:
- Enable the Cross App Access - Requesting Application role for this connection using the Auth0 Dashboard or Management API:
- Auth0 Dashboard
- Management API
Under Cross App Access Roles, toggle on Requesting Application. This enables your Requesting App to request ID-JAGs issued by the enterprise IdP associated with this connection.
Register the Requesting App in Okta
In a production environment, the Requesting App developer registers the Requesting App in the Okta Integration Network (OIN). Enterprise customers install it from the OIN catalog during their IdP setup.
- In the Okta Admin Console, go to Applications > Applications and select the Requesting App.
- Under Sign On, select Edit and add your Okta Workforce connection’s callback URL in the Redirect URI field.
- Select Save.
- Select Assignments > Assign > Assign to People and select your test user.
- Select Save.
Test the Okta Workforce connection
In the Auth0 Dashboard:- Navigate to Authentication > Enterprise > Okta Workforce and select the connection.
- Select the Applications tab and enable the Requesting App you created.
- Go back to the connections list, select the three dots next to your connection, and select Try. You will be redirected to authenticate with your Okta tenant.
Create the Resource App OIDC connection
The Requesting App needs a connection in its Auth0 tenant that points to the Resource App’s Auth0 tenant. This is how Token Vault knows which Resource App to target when exchanging tokens, and it is where you enable the XAA Resource App role on the Requesting App side. Use the Client ID and Client Secret that the Resource App tenant issued for your Requesting App to create an OIDC Enterprise connection in your Requesting App Auth0 tenant. To configure the connection for XAA:- For Purpose, select Connected Accounts for Token Vault.
- For the OpenID Connect Discovery URL, enter the discovery URL of the Resource App’s Auth0 tenant:
https://<RESOURCE_APP_TENANT>.auth0.com/.well-known/openid-configuration. - Enable the Cross App Access Delegation toggle to authorize Token Vault to issue access tokens for third-party resource applications, including Cross App Access.
- Enable the Cross App Access - Resource Application role using the Auth0 Dashboard or Management API:
- Auth0 Dashboard
- Management API
Toggle on Enable Cross App Access Delegation, then toggle on Cross App Access - Resource Application. This enables the connection to accept ID-JAGs targeting the Resource App’s Auth0 tenant.